A practical lesson in creative problem-solving, lighting, and making more of your photography studio.
There’s a temptation in photography to believe the next piece of gear is going to solve the problem.
A bigger softbox. Another strobe. A new modifier. More lights, more equipment, more options.
And sometimes, new gear is exactly what a shoot calls for. But some of the best lighting solutions come from understanding what you already have and learning to use it differently.
That’s one of the things I keep coming back to when teaching lighting workshops at The Hive Studios in Phoenix. The equipment matters, but understanding light matters more.
One light can do a lot of work
When photographers ask how many lights they need for a particular shot, the answer isn't always straightforward.
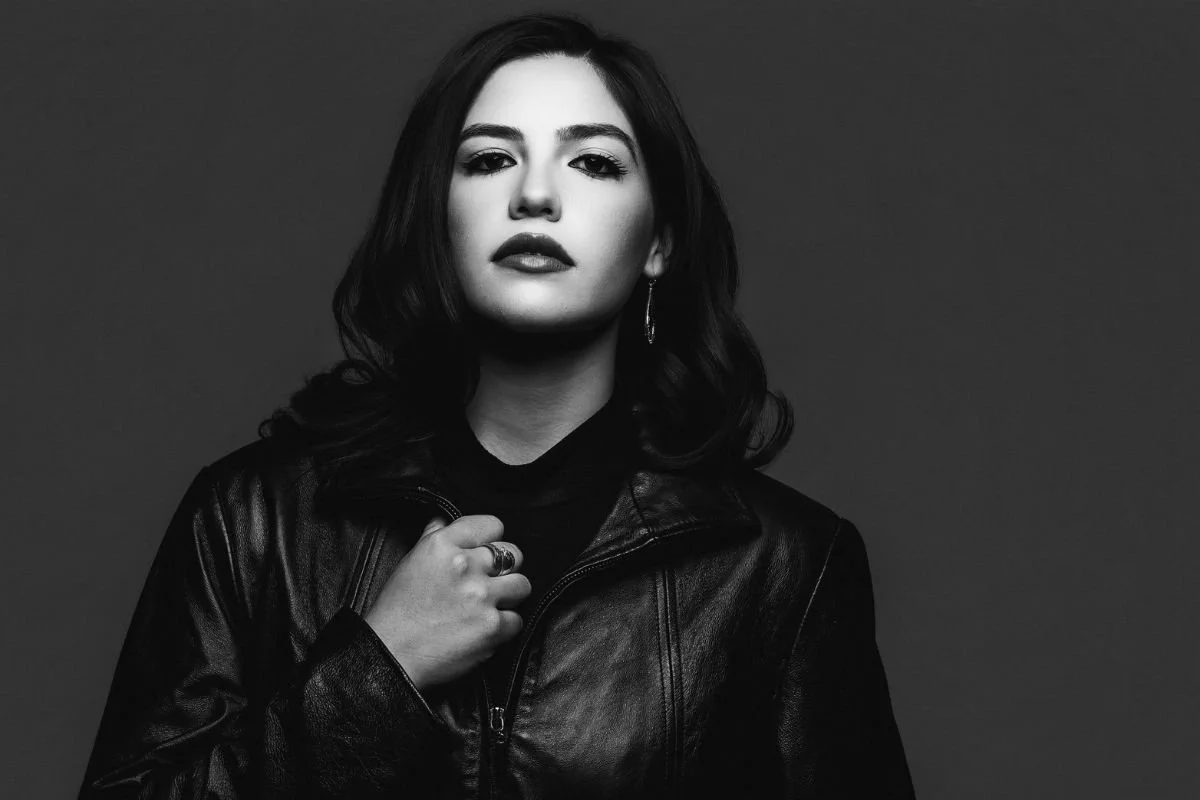
One light can create a clean corporate portrait, a dramatic editorial image, or a flattering beauty photograph. The difference isn't necessarily the light itself. It's how that light is shaped, positioned, directed, and controlled.
A large light source close to your subject can create soft, gradual transitions between highlights and shadows. Move it farther away, and the light becomes harder relative to the subject while also losing intensity.
Change the angle, and the shadows change. Change the distance, and the relationship between your subject and background changes. Add a reflector, and you can bring detail back into the shadows without introducing another light.
The goal isn't to memorize one setup and repeat it forever. It's to understand why a setup works so you can adapt it when the situation changes.
Your studio walls can be part of the lighting setup
One of my favorite examples of creative problem-solving came from a national magazine cover shoot with a celebrity.
The light modifiers arrived just before the shoot. Great timing, except the speed rings needed to attach the modifiers to the lights were missing.
We had lights. We had a client ready to shoot. We didn't have the softboxes we expected to use.
So I looked at the room.
The walls were white. Instead of pointing the lights at the subject, I aimed them at the walls and used those surfaces to bounce the light back into the scene.
Suddenly, the wall became a giant light source. We had beautiful, soft, flattering light, and the client loved the results.
The lesson wasn't that you should stop buying softboxes. It was that a modifier is only one way to shape light.
A wall, a reflector, a ceiling, a V-flat, or even the position of your subject can change what your light does. The more you understand those options, the less likely you are to get stuck when a shoot doesn't go according to plan.
Soft light doesn't have to mean flat light
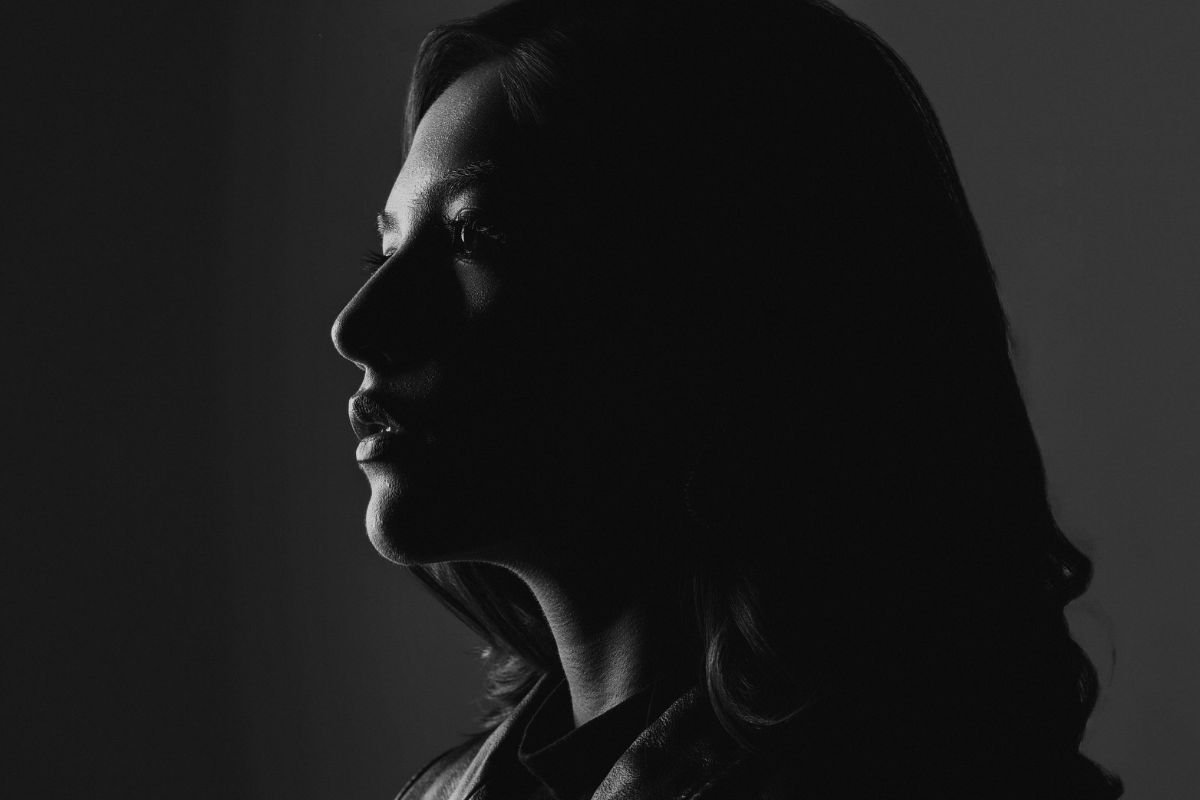
Another common misconception is that soft light automatically means low contrast.
It doesn't.
The size of a light source relative to your subject affects the softness of the shadows. Its position and direction influence where those shadows fall. The distance between your subject and the background affects how much light reaches that background.
Put those variables together, and you can create soft, flattering light with plenty of drama.
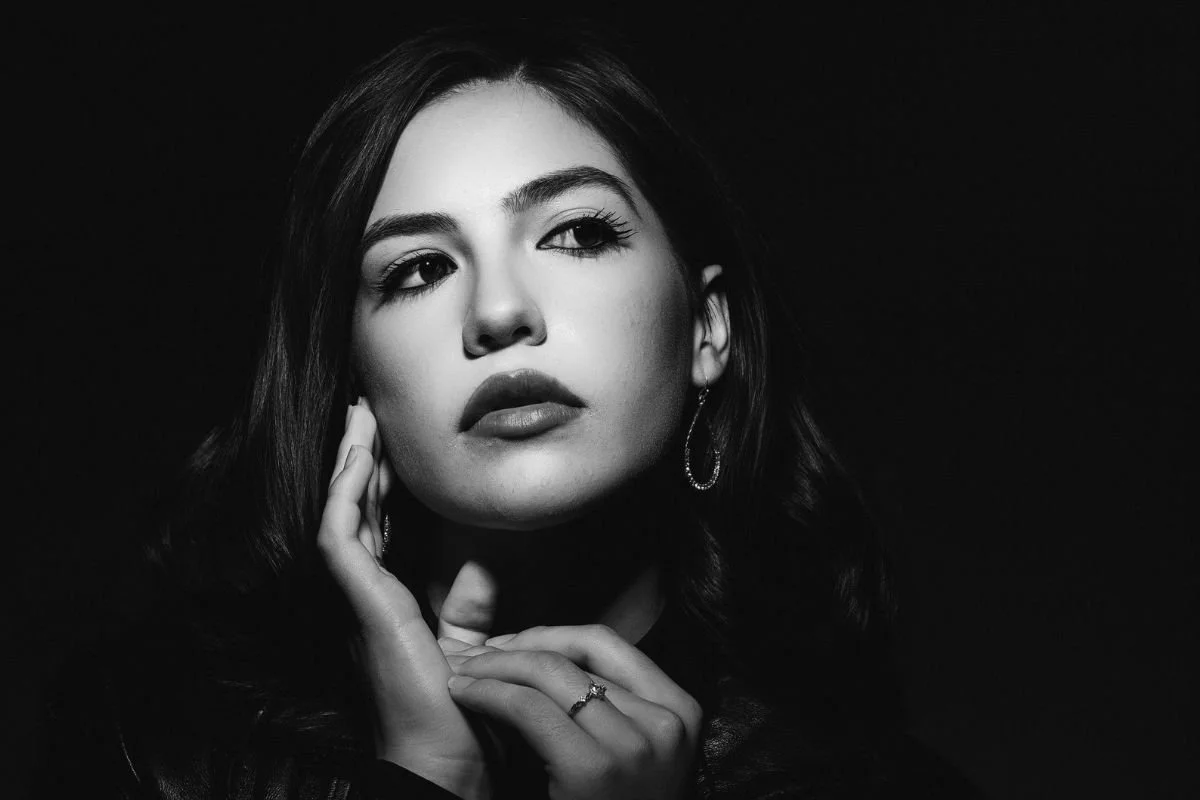
You can also use a single light to create a low-key portrait with deep shadows, a narrow strip of illumination, or a bright, clean headshot.
This is where experimentation becomes more valuable than collecting lighting diagrams. Learn what happens when you move the light closer. Turn it away from the subject. Feather it across the face instead of aiming it directly at the person. Add a white reflector, then replace it with a black surface to absorb light and deepen the shadows.
Make one change at a time. Watch what happens.
Make the space work for you
A photography studio isn't just a place to put a backdrop and set up a light.
The space itself can influence the image. The distance available between the subject and the background, the color and shape of the walls, and the room you have to position your lights all affect what you can create.
At The Hive Studios, the goal is to give photographers and creative teams a space where they can make images, experiment with setups, and solve the challenges that come with real production work.
You don't need to use every piece of equipment in the room. You need to know what you're trying to achieve and choose the tools that help you get there.
And if the shoot doesn't go according to plan? That's when understanding the fundamentals really pays off.
Try this the next time you're in the studio
Here's a simple exercise to try during your next portrait session.
Start with one light. Place it roughly 45 degrees to one side of your subject and slightly above eye level.
Move it closer. Watch how the shadows soften and how the light falls across your subject.
Move it farther away. Compare the quality of the shadows and the exposure. Adjust your power as needed.
Change the direction. Turn the light slightly away from your subject and let the edge of the beam do the work.
Add a reflector. Use a white reflector to bring some detail into the shadows. Then remove it and compare.
Use the room. If the space allows, try bouncing the light off a white wall instead of using your modifier directly.
Take a photo at each step. Compare the results. You'll learn more from seeing those differences than from simply adding another light to the setup.
The next time you feel like you need more gear, spend a few minutes experimenting with what you already have.
You might discover that the solution was never another light. It was a different way of using the one you had.
Make something at The Hive Studios
Whether you're shooting portraits, creating commercial imagery, or testing a new lighting technique, The Hive Studios offers Phoenix photographers and creative teams a space to work, experiment, and bring their ideas to life.
Explore studio rental options and plan your next shoot at The Hive Studios.
WORKSHOP & PHOTOGRAPHY BY JAMES PATRICK